Making a Student Inactive
- sandy8745
- Oct 23, 2025
- 1 min read
Cancelling a Student and Making Them Inactive
Step 1: Access Student Profile
Go to the Members and Students section.
Search up the student and click the Edit button or icon on their profile.

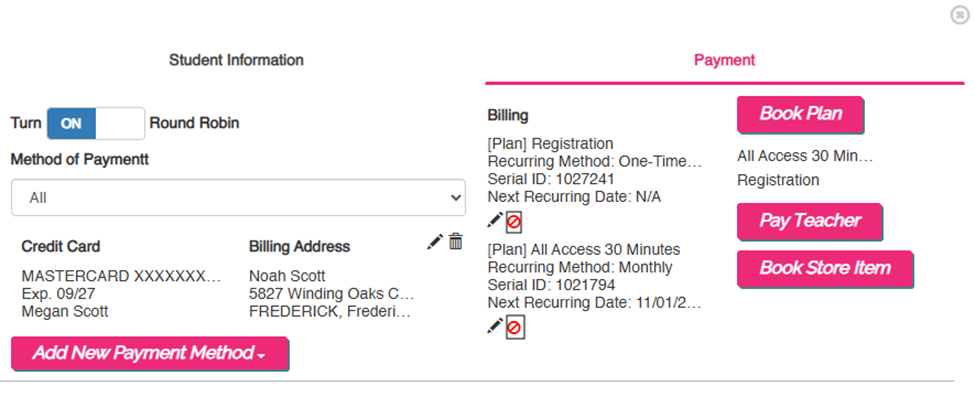
Step 2: Cancel Active Plans
Navigate to the Payment section within the student's profile.
Locate any active billing plans. Click the red circle with a line through it next to each active plan to cancel it.
Step 3: Set Inactive Status and Date
Go back to the Student Info tab.
Scroll down to the Status box.
For immediate cancellation:
Change the status from Active to Inactive.
Click Save.
Confirm Yes when prompted to cancel everything.
For future cancellation (active until month-end):
Leave the status box as Active.
In the box next to the status field, enter the date you want them to become inactive on.

Step 4: Final Save (Future Cancellation Only)
If you set a future inactive date, click Save.
Extra Insight
There is another tip you might find useful for this process: note that the student goes inactive on the designated date at 5 pm, and you cannot take attendance on them after they become inactive, so always ensure attendance is logged for their final day before the cutoff time.


Comments